Complete Guide for Building the Agipix Hardware Platform
Material checklist
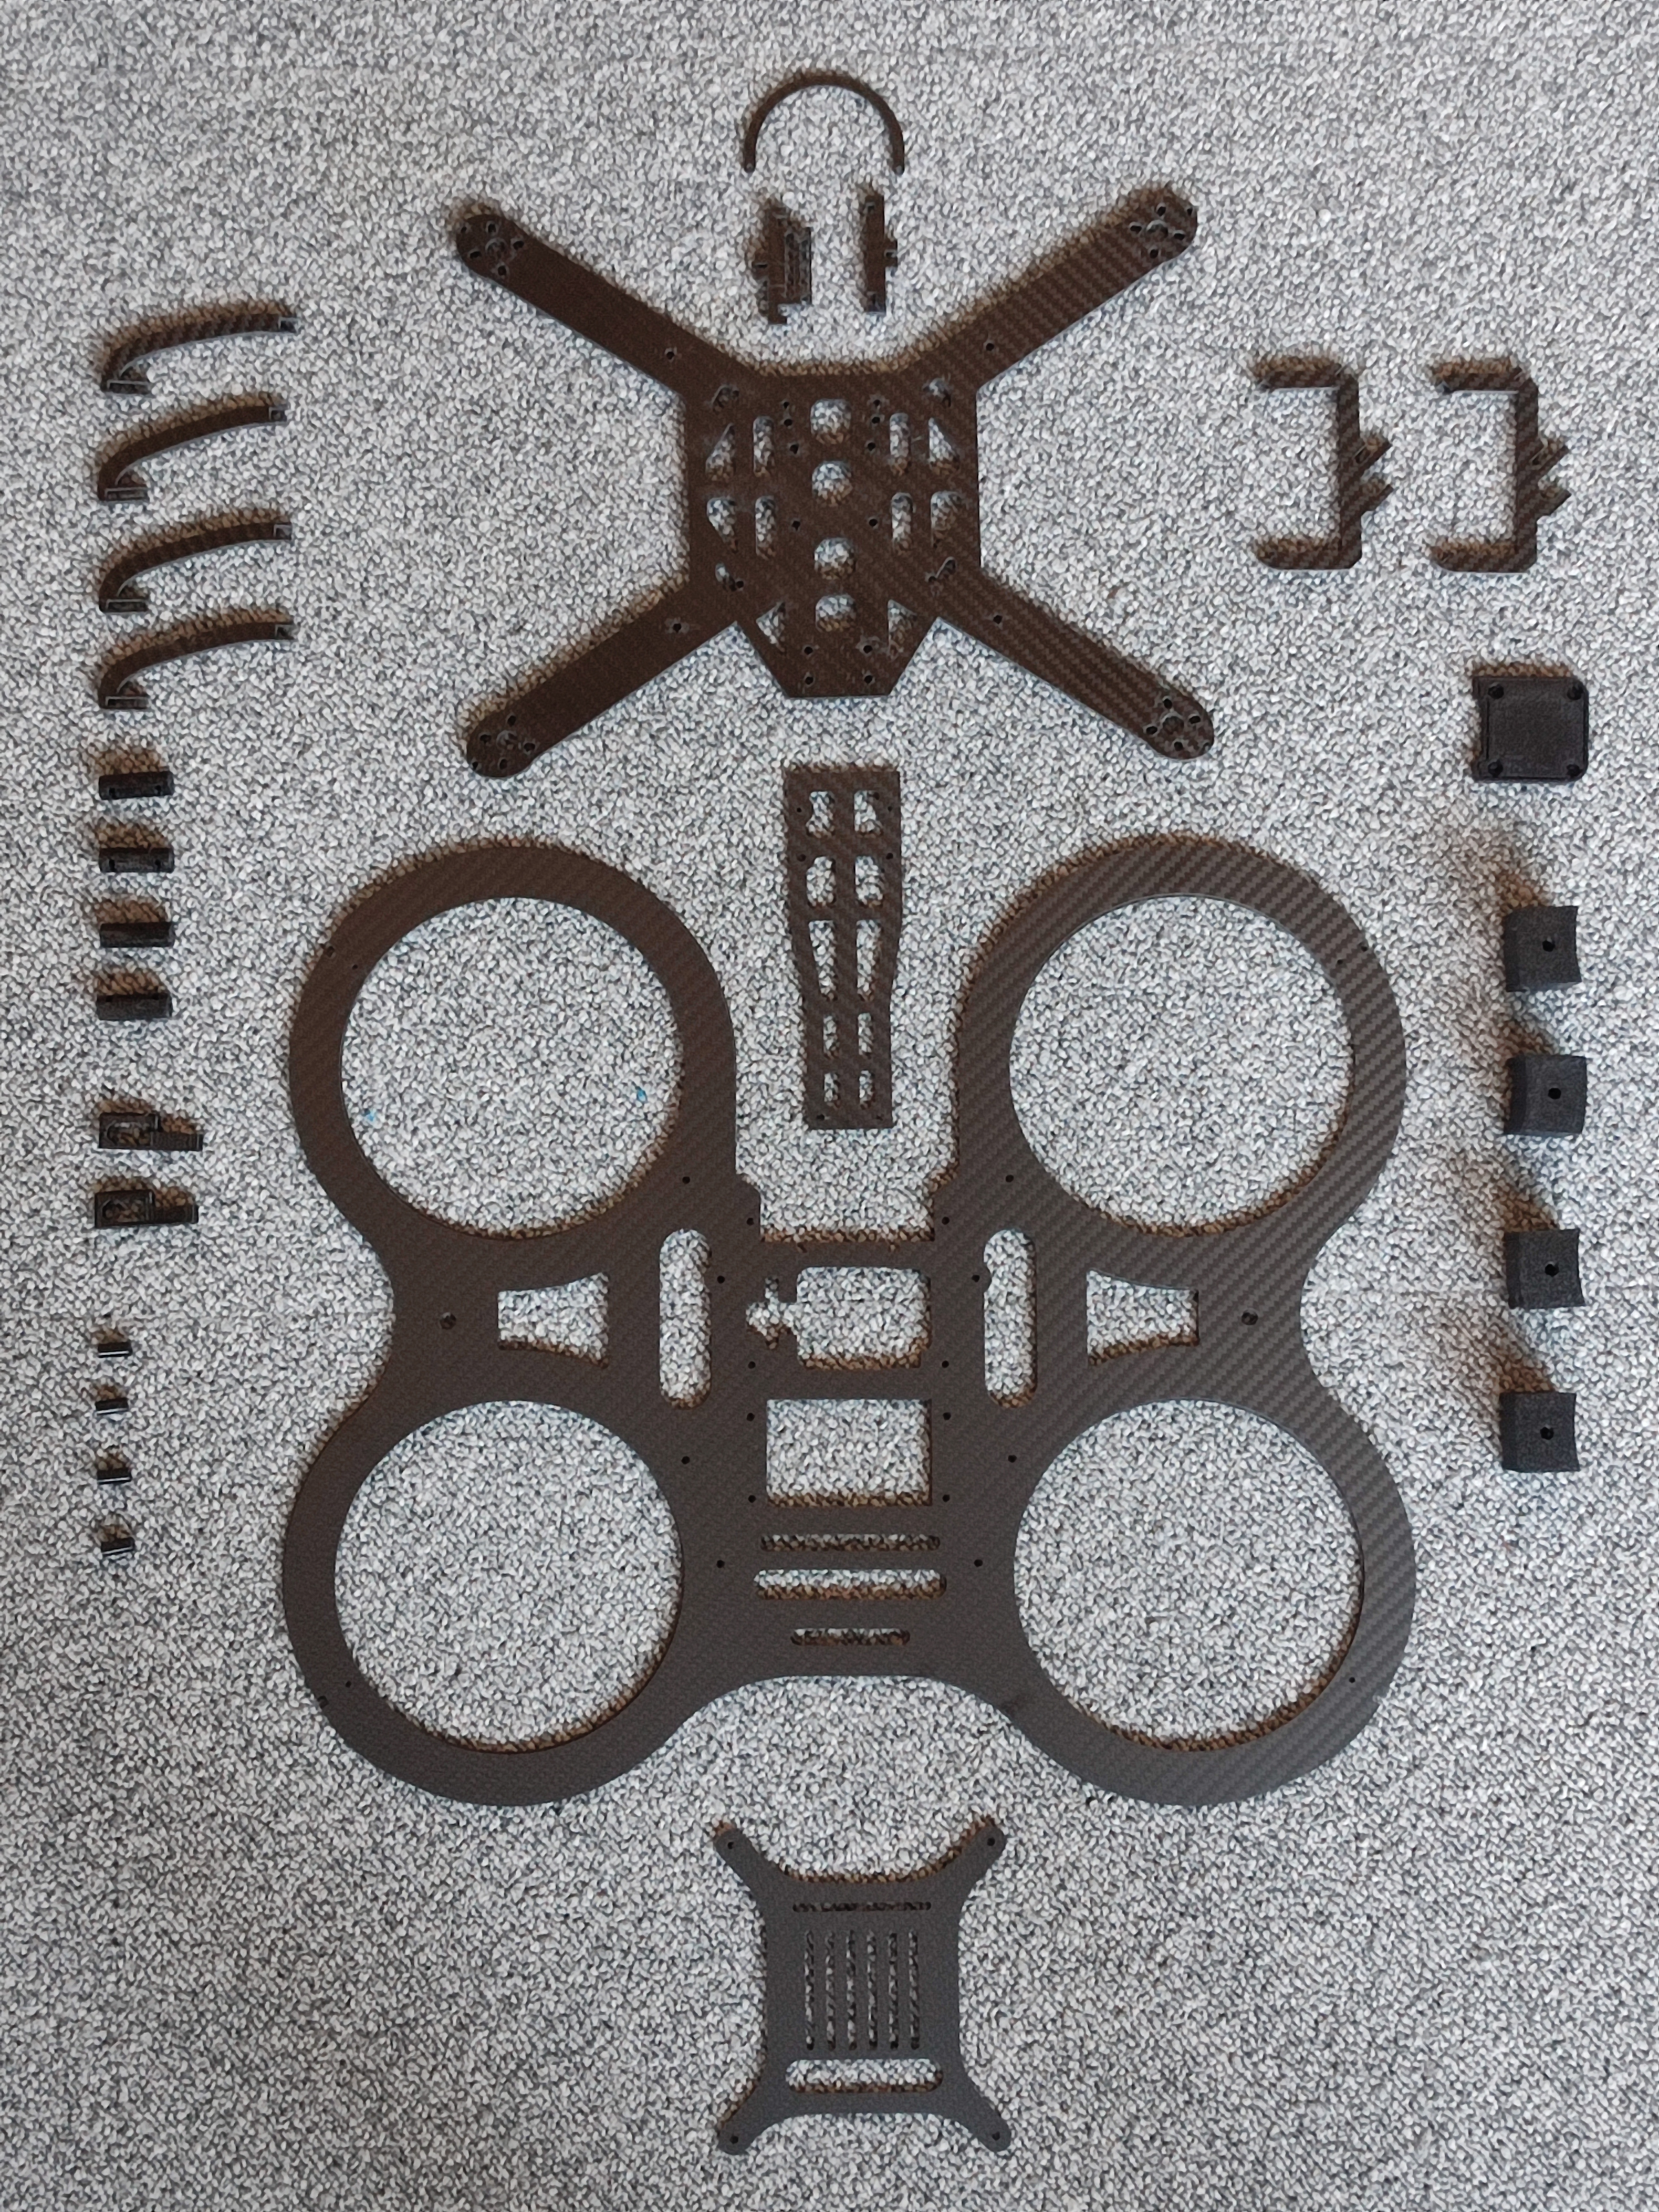
Carbon fibre cuts
Use the supplied cutting patterns available at cad/Fab/CF and use a water-jet cutting method to cut.
| File name | Material |
|---|---|
| tocut_1_5mm_500x600.dxf | 500x600x1.5mm |
| tocut_1_5mm_500x600.dxf | 500x600x1.5mm |
| tocut_4mm_500x500.dxf | 500x500x4.0mm |
Postprocessing of parts
Some CF parts need extra processing to support lataral fitting.
Note: TODO: Detailed description with images
3D printed parts
Use the supplied 3D printable stl files available at cad/Fab/3D_prints and use followig settings to print them
- Filament: AmazonBasics TPU (preferred for durability);
- Nozzle: 0.4 mm
- Layer height: 0.2 mm
- Infill: 40% gyroid/cubic; 70% for bushings/adaptors
-
Temperatures: TPU 235–245°C nozzle
- Post-processing: deburr, ream holes, clean support interfaces
| File name | Quantity |
|---|---|
| battery_bush_x2.stl | 2 |
| D455_rubber_mount_Ll.stl | 1 |
| D455_rubber_mount_R.stl | 1 |
| F55A_bush_adaptor_in.stl | 1 |
| F55A_bush_adaptor.stl | 1 |
| front_cam_bush_x2.stl | 2 |
| front_left_x2.stl | 2 |
| front_right_x2.stl | 2 |
| landing damper.stl | 1 |
| landing_gear_bush.stl | 1 |
| nx_bush_x4.stl | 4 |
| px4_pad.stl | 1 |
| side_joint_lower.stl | 1 |
| side_joint_upper.stl | 1 |
| top_gurd_flexies_x4.stl | 1 |
Assembly
Low level assembly and test
In this step we setup following componenets before the low level test
- Frame
- Power, Bttery
- ESC
- Motors
- Radio reciever
- Telemetry radio
- Flight Controller
Finally we do a seris of manual flight tests to verify
Note: TODO: Detailed steps with images
High level Assembly
In this step we setup following componenets before attempting high level controls
- Top plate
- USB to TTL or RS323-USB converter
- Jetson Orin NX with Hadron carrier
- Wifi antenna
- Wiring and Complient frame stiffner
Note: TODO: Detailed steps with images
Now we are ready to Firmware setup. See Instructions to continue.
Sensor Assembly
In this step we setup following componenets before attempting high level controls
- Carbon Fibre Sensor Cage
- Livox Mid-360 Lidar
- (Optional) RGB camera
- (Optional) RGBD camera
Note: TODO: Detailed steps with images
High level Assembly
In this step we setup following componenets before attempting high level controls
- Top plate
- USB to TTL or RS323-USB converter
- Jetson Orin NX with Hadron carrier
- Wifi antenna
- Wiring
Note: TODO: Detailed steps with images
Now we are ready for software setup. See Instructions to continue.